Composite Pipe Inspection
Key features
Dual laser measurements that are accurate and repeatable
Monitoring of pipe integrity during test programme
Internal and external pipe ovality monitoring
Traceable results
A valuable alternative to rigid risers
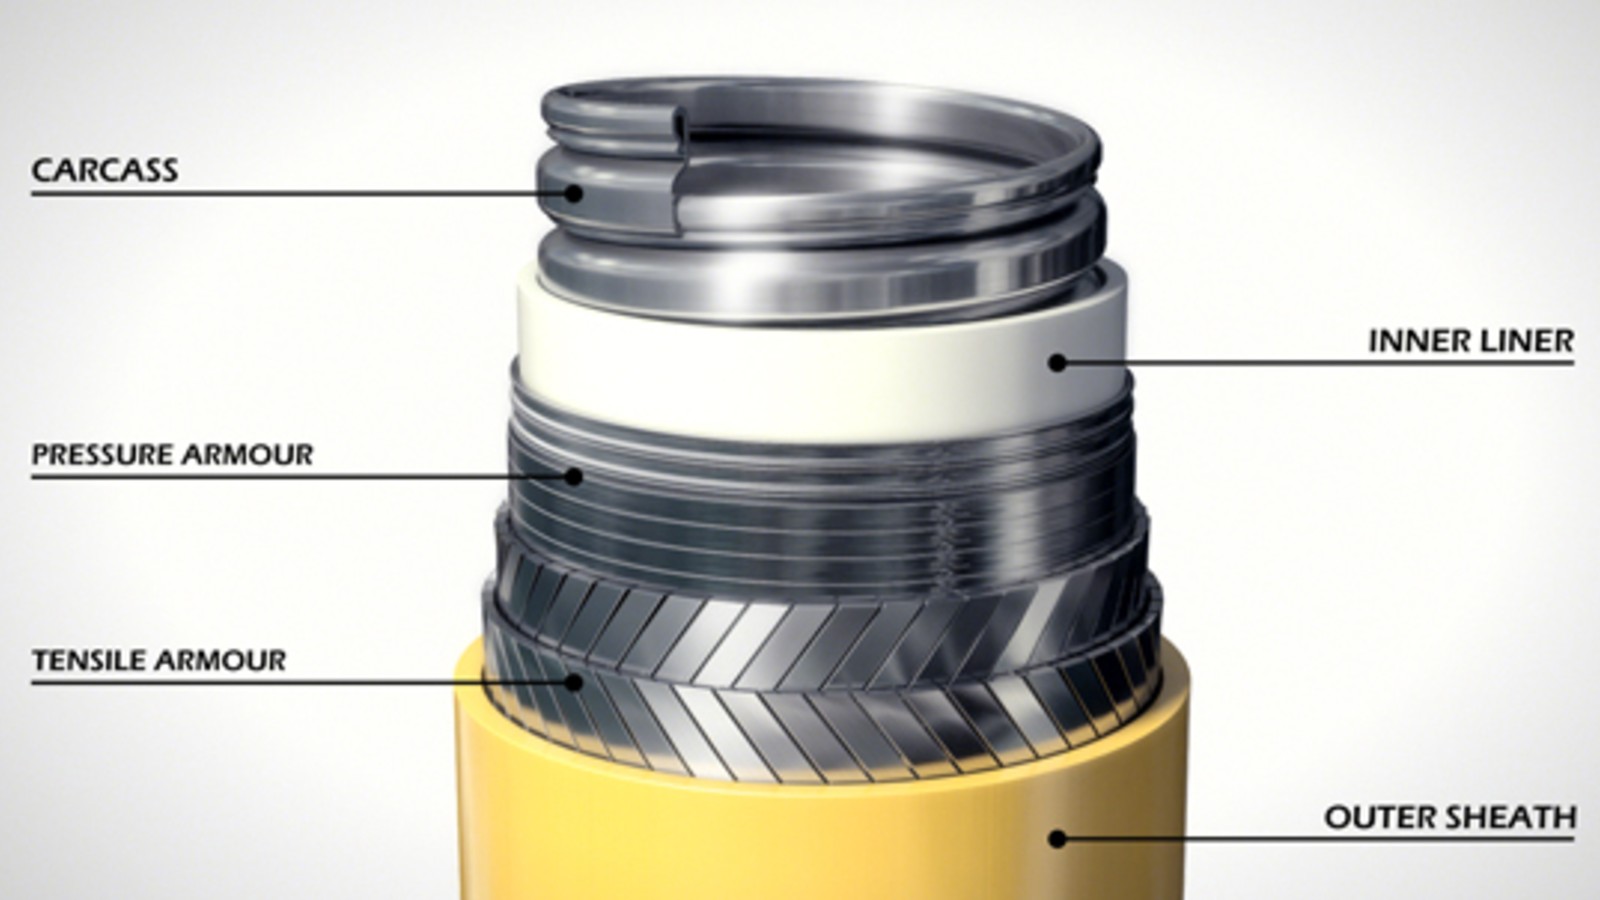
Flexible pipes offer a valuable alternative to rigid risers in offshore operations. These pipes are constructed from a range of materials, each serving a different purpose. For example a composite pipe could contain an internal carcass of spiral stainless steel, plastic internal and external pressure sheath, high strength tapes, tensile armour wires and pressure sections. Pipes must be able to resist high internal and external pressures as well as the forces of tides, waves and vessel motion and the presence of H2S gas, which can damage the stainless steel’s integrity and cause eventual pipe failure.
Internal and external shape monitoring
OMS’ customer needed to test their composite pipe for suitability. We created a test where the pipe was subjected to tension, pressure and H2S over a period of time and monitored the effects on its integrity.
Our customer commissioned us to create a tool to monitor the external shape of their composite pipe at least once a day over a period of up to three years and provide the dimensional variation between initial and final geometry.
Safe testing arrangements
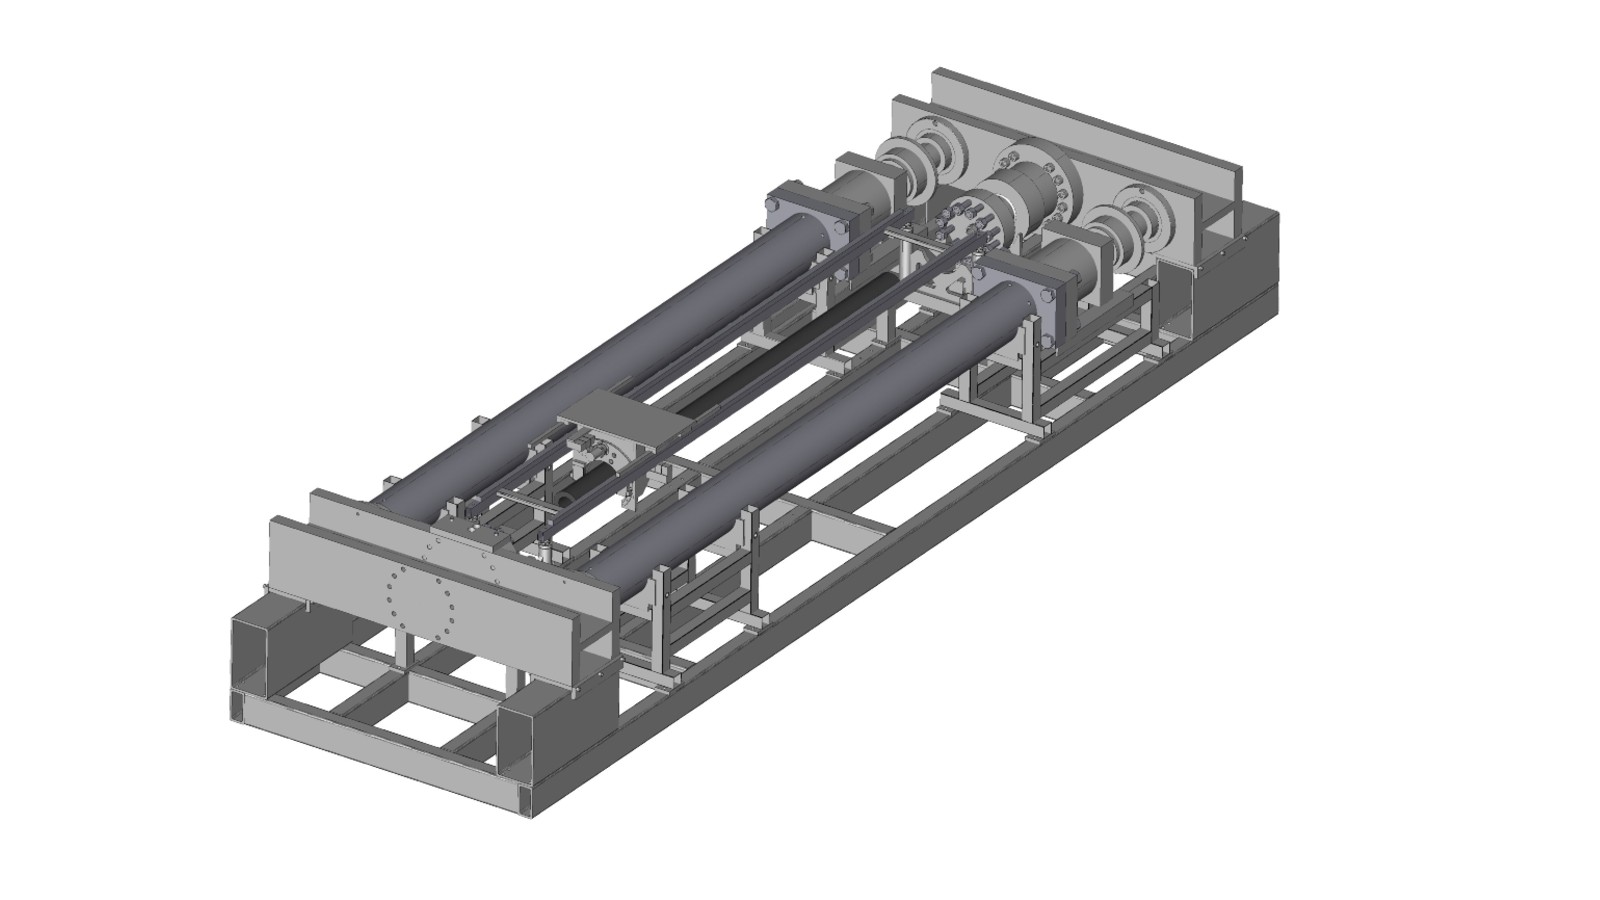
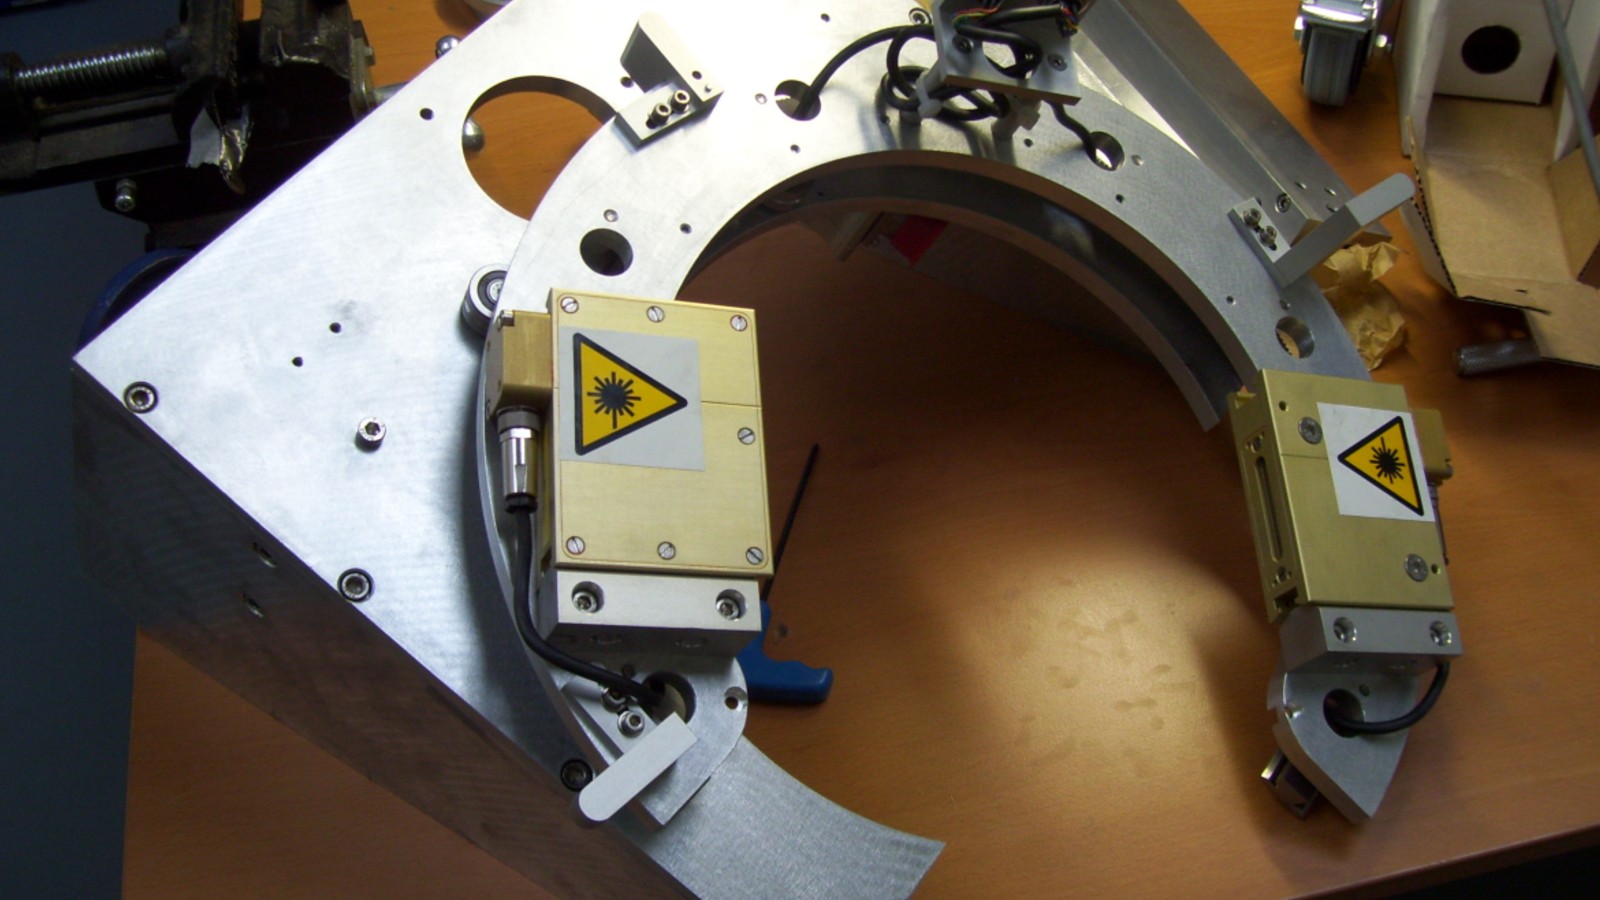
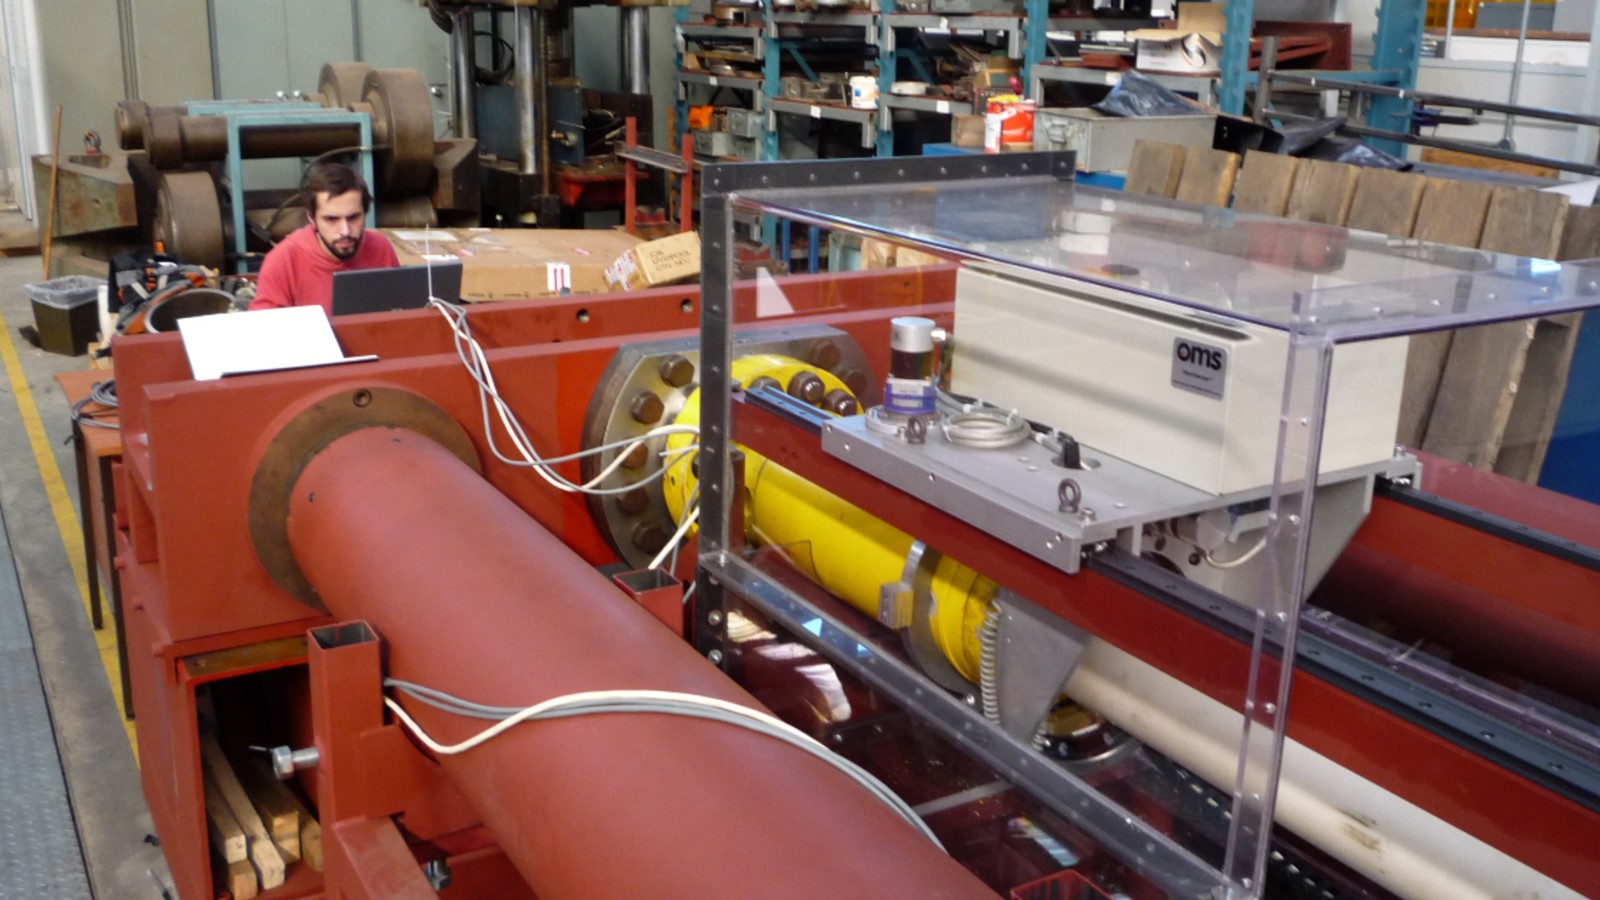
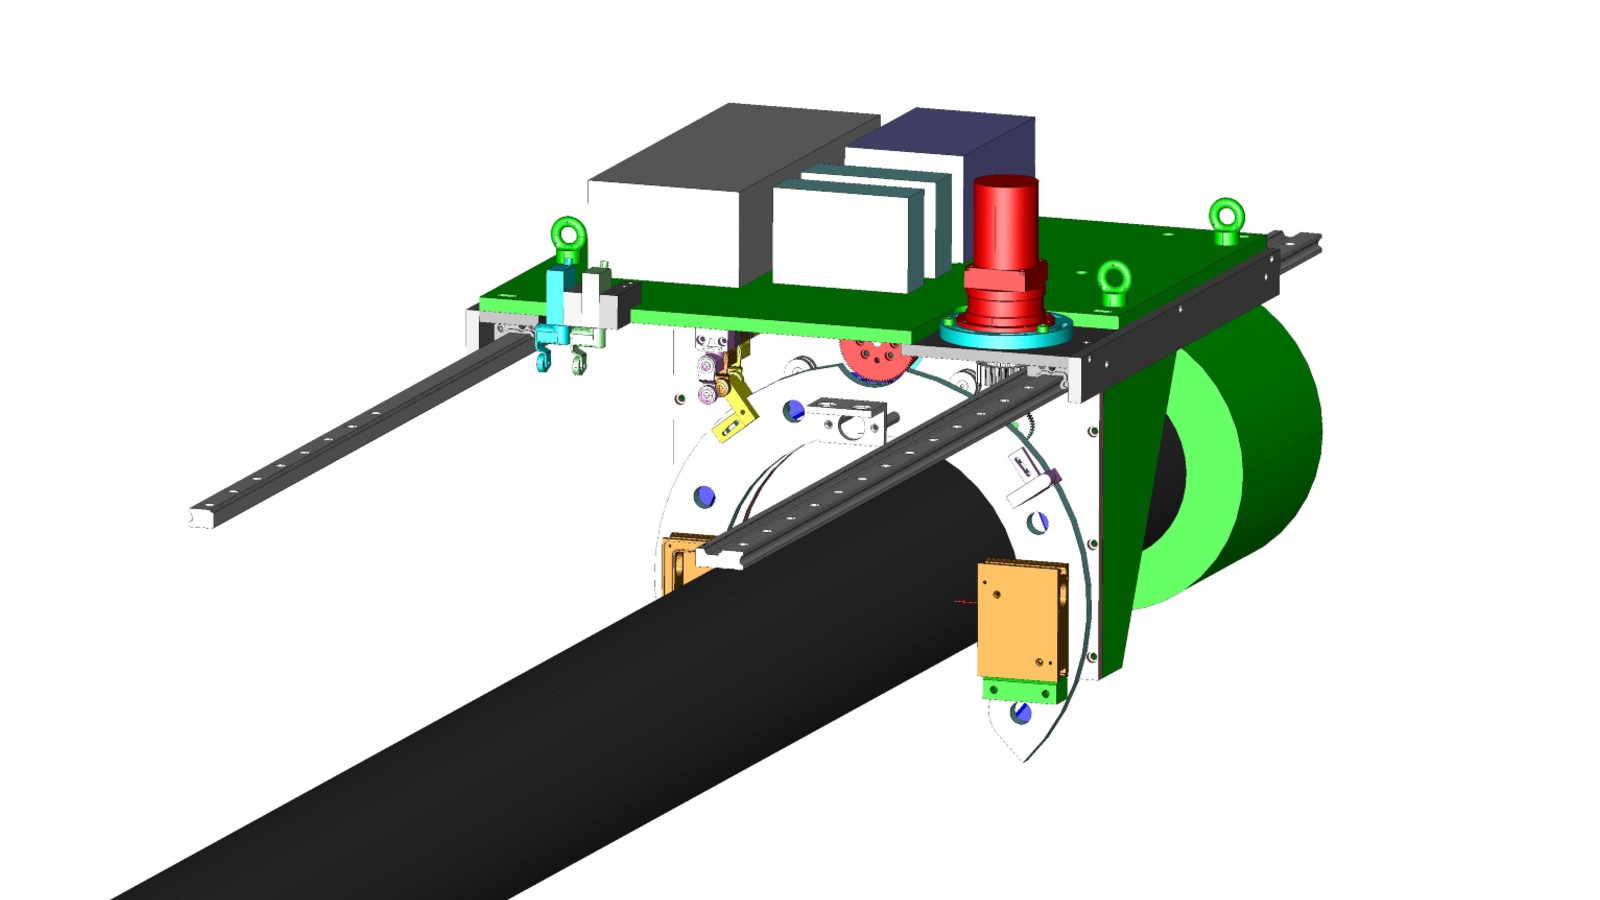
This test project had to be able to sustain a pipe failure and the release of dangerous H2S gases so for safety the entire system was enclosed in a controlled room. The figure below shows the basic design. The two outer pipes are rams which are designed to stretch the middle, darker pipe. Our system had to move along rails through the length of the pipe and be removable from the test rig. We designed the measurement system in a “C” shape to allow easy removal when required.
Laser measurement and recording
The “C” shaped measurement tool was partially rotatable. It has two mounted lasers to measure and record the pipe’s diameter and the angle of rotation. The entire tool and supporting electronics moved along the guide rails to a specified location. Records of the pipe’s original shape and subsequent measurements were compared to establish whether any changes had taken place.

