Pipe Spool Piece Weld Inspection
Key features
Co-ordinated laser and camera pipe weld inspection
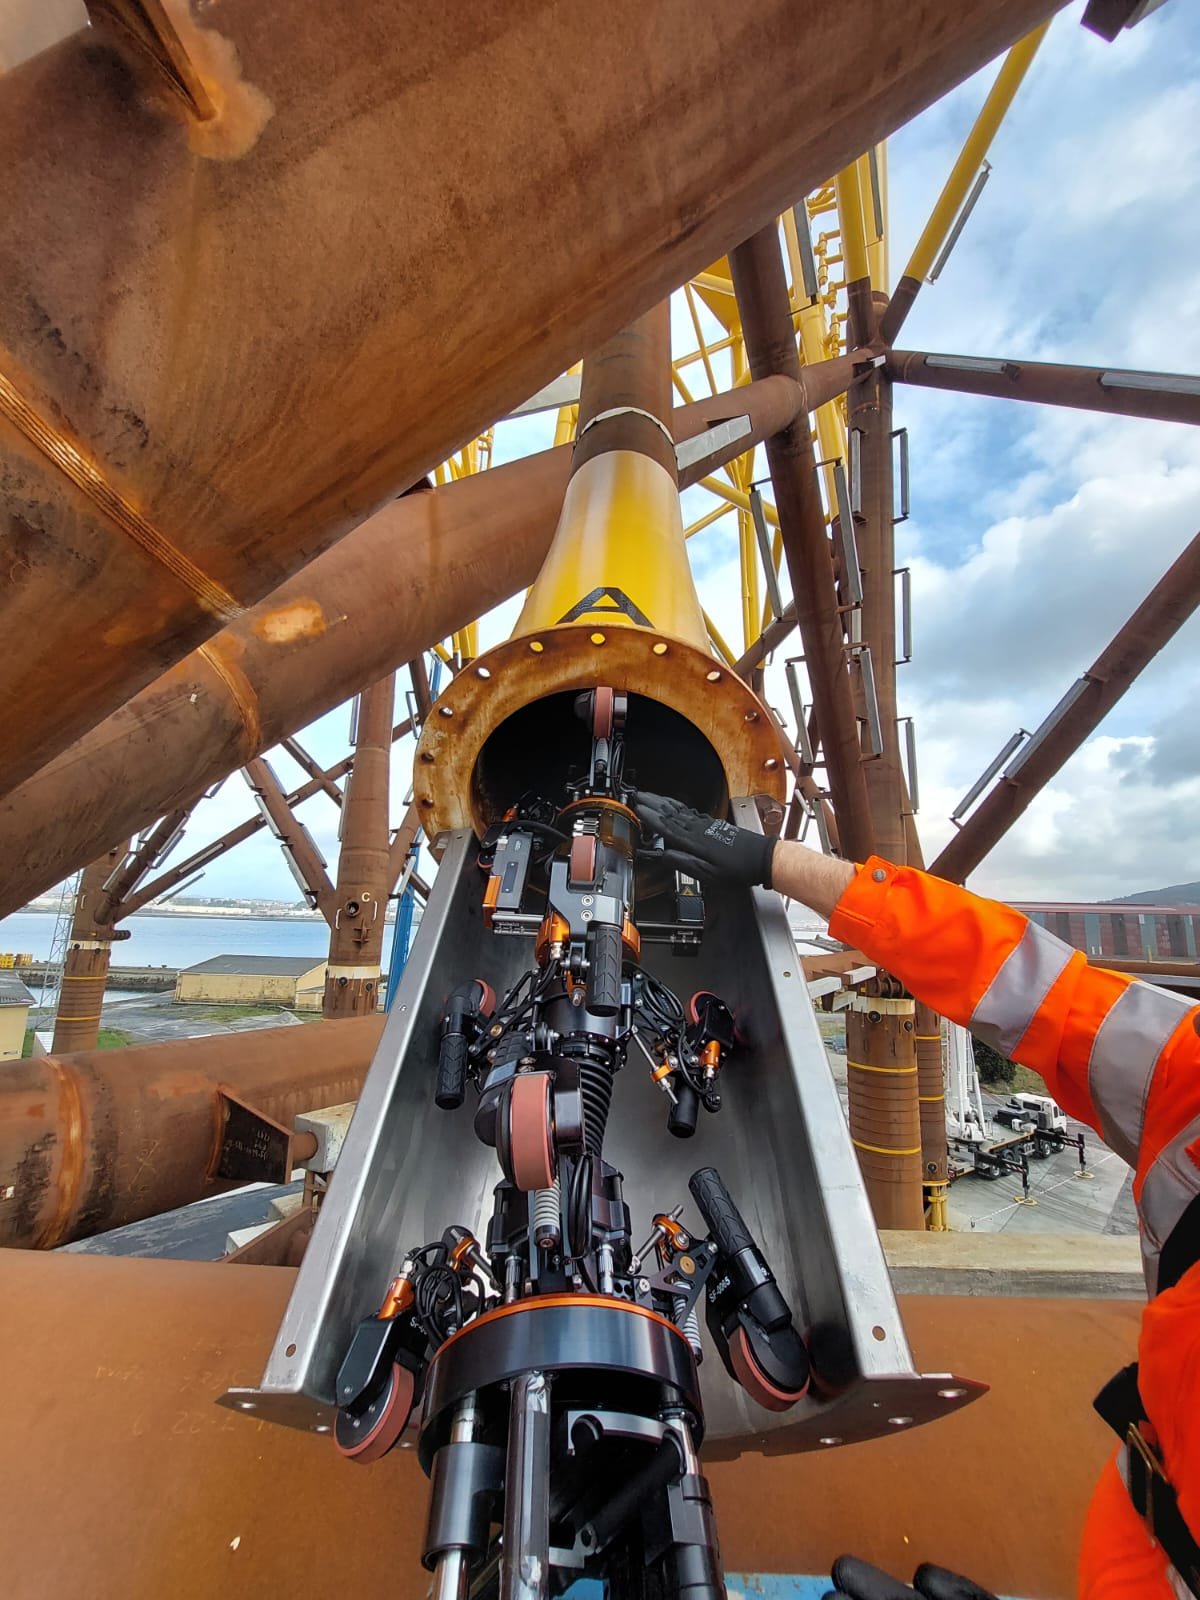
Inspection can take place around several bends
Onshore or offshore location
Full inspection report in Excel
Geometric features revealed (HiLo, penetration, width, weld shape)
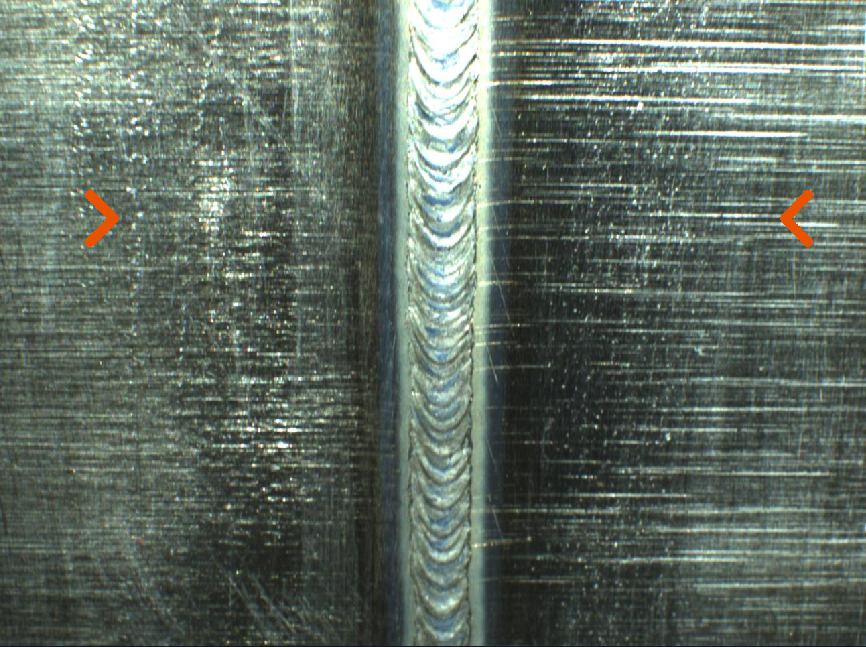
Visual features revealed (cracking, corrosion, colouration, porosity)
Calibrated and verified systems
Improved pipeline integrity
Inspecting each part of a complex pipe system
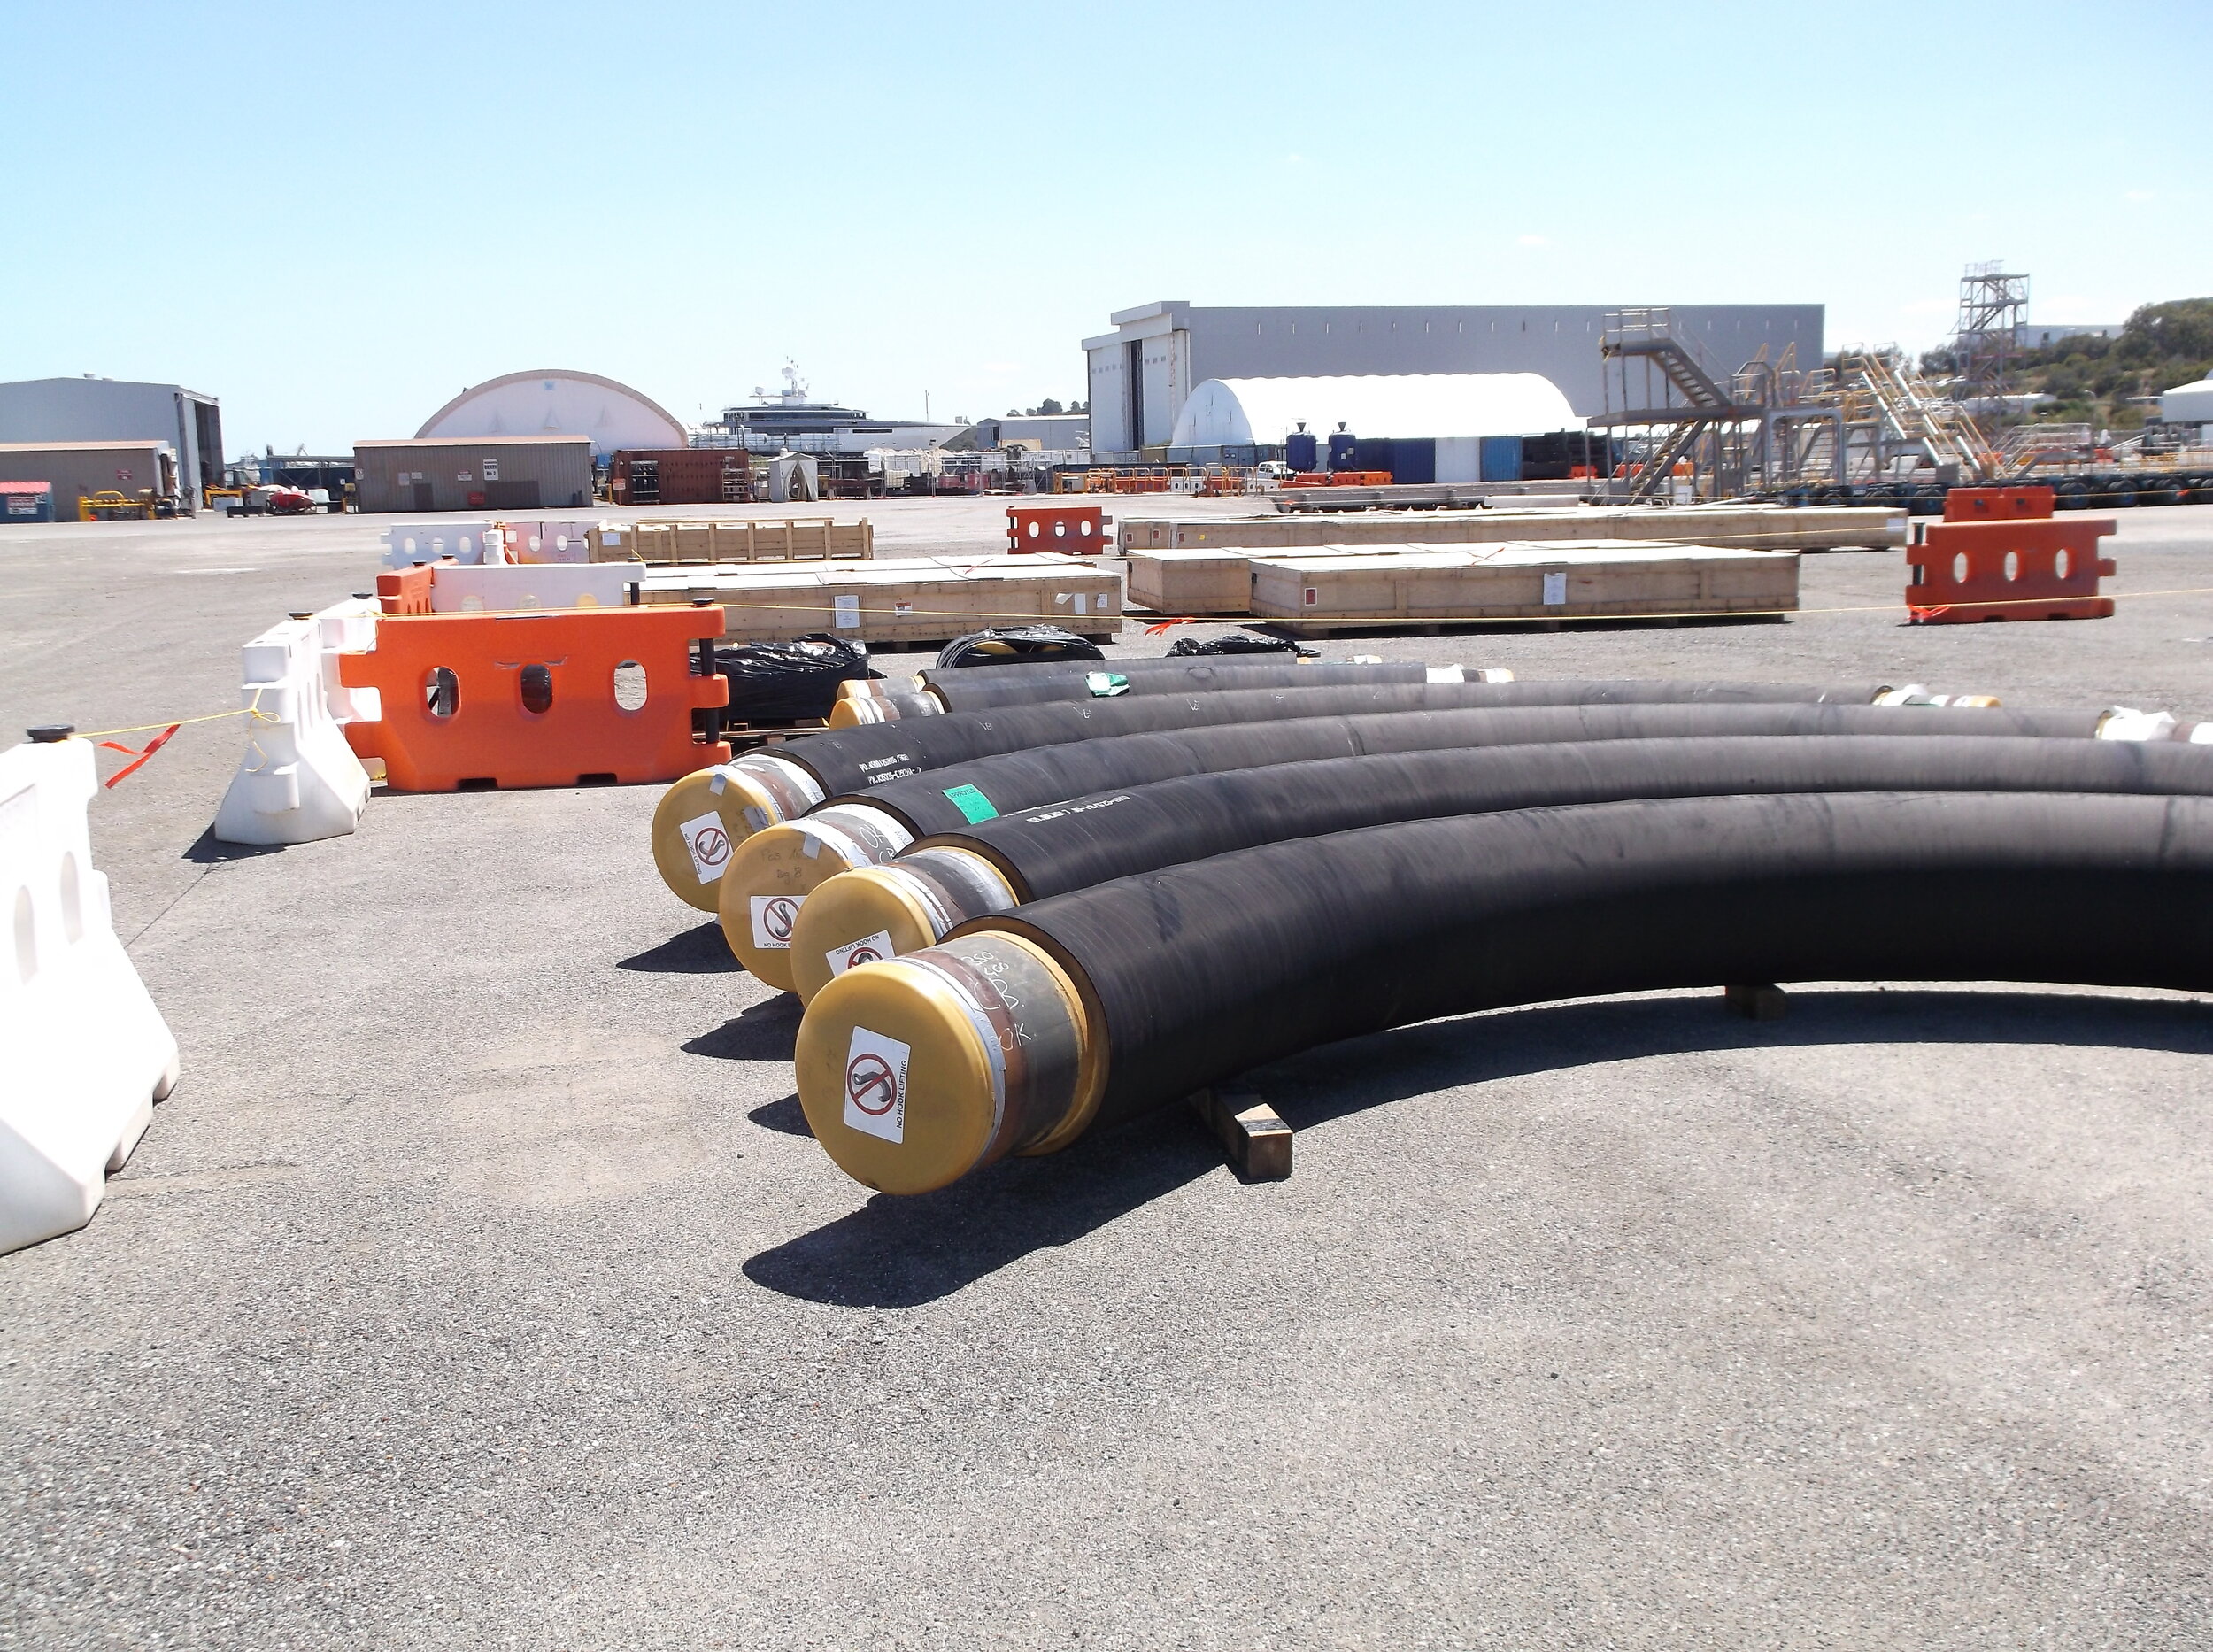
Offshore pipelines are complex systems containing structures to control the flow of oil or gas. Each structure will be made of many joining pipes with a variety of bends, each of which has two welds. Every spool piece may contain several bends and straight sections with flanges on either end of the assembly, all of which have been manually welded. The welding process causes internal welds to protrude into pipes, sometimes significantly, which can have an effect on pigging and on fluid flow within the pipe. Checking these welds before passing spool pieces as fit-for-service is best practice and can help avoid expensive problems offshore.
Camera and laser inspection
OMS inspection systems use lasers and cameras to scan the weld, providing the necessary information for a pass or fail decision and allowing the operator to provide a certification report that a spool piece is fit-for-service or needs remedial action.
Latest technology
OMS spool piece inspection offers two options. The first, used in larger pipes, employs a stripe laser to measure the weld profile. The second, ideal for smaller pipes, uses a point laser to scan across the weld. Both options use a state-of-the-art camera to collect accompanying visual information. We move the system into place either with push rods or with robotic crawlers, sending all live measurements back through an umbilical cord for storage, analysis and reporting.


