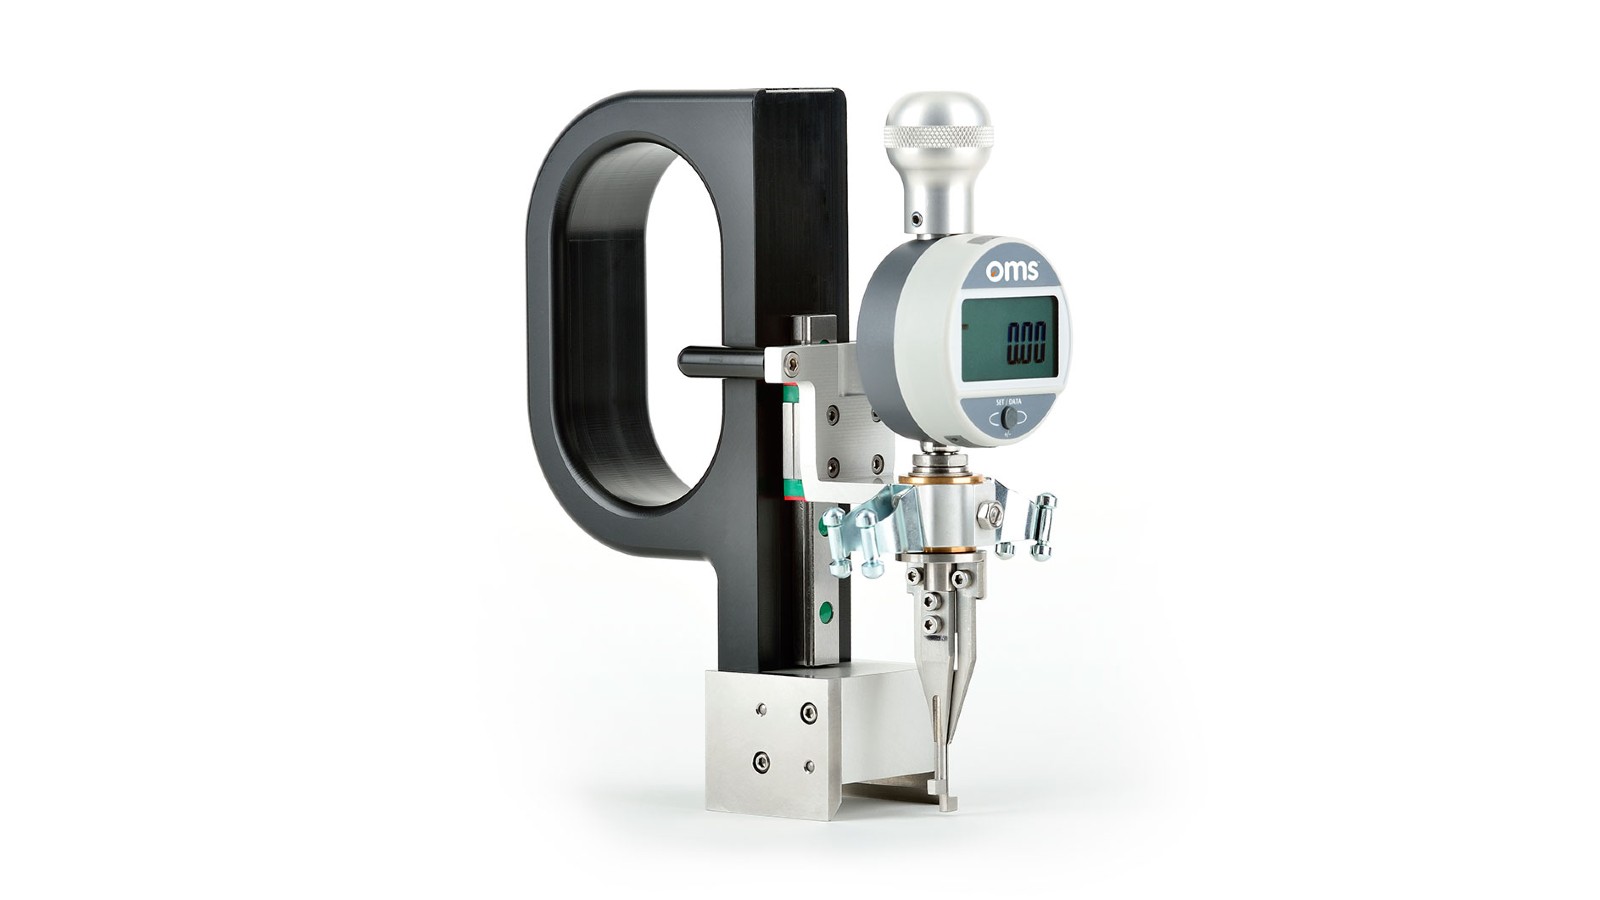
HiLo Measurement
Measuring HiLo just before welding confirms the best fit-up selections for critical fatigue-sensitive pipes and reduces the chance of expensive weld-related cut outs. Reducing HiLo is also a key part of ensuring a weld will pass inspection in the QA/QC stages and meet project specifications. OMS offers the Open Gap and Closed Gap HiLo tools, industry-standard tools which help clients reduce HiLo and achieve stronger welds and better fit-up.
Key features:
Reduce HiLo
Measurements accurate to +0.05mm
Ensure design specifications are met
Easy to use with magnetic base and calibration/verification stand
Traceable measurements
Range of blades available to suit requirement
“Measuring HiLo just before welding confirms the best fit-up selections for critical fatigue-sensitive pipes and reduces the chance of expensive weld-related cut outs”
Better pipe fit-up
Created in response to customer request, the OMS Open and Closed Gap HiLo Tools measure the pipe geometry of two pipes aligned for welding to a high degree of accuracy.
Accuracy over 0.05 mm
Accurate to more than 0.05mm, OMS HiLo Tools are ideal for critical fatigue-sensitive pipeline sections such as steel catenary risers and havebeen used around the world by all major pipe-lay companies and welders.
Final check before welding
To achieve a good weld and avoid stress concentration pipes must be matched as accurately as possible. In critical fatigue-sensitive pipes the HiLo measurement confirms fit-up predictions from the OMS SmartFit process and provides the last check before the pipes are welded. Post-weld, pipes may be checked again with OMS weld inspection technology.
Industry-standard tools
Having been used successfully for many in major global oil ang gas projects, and by leading pipe mills all around the world, OMS HiLo tools are now the industry standard. If you would like any further information or a quote please contact us on info@omsmeasure.com.


