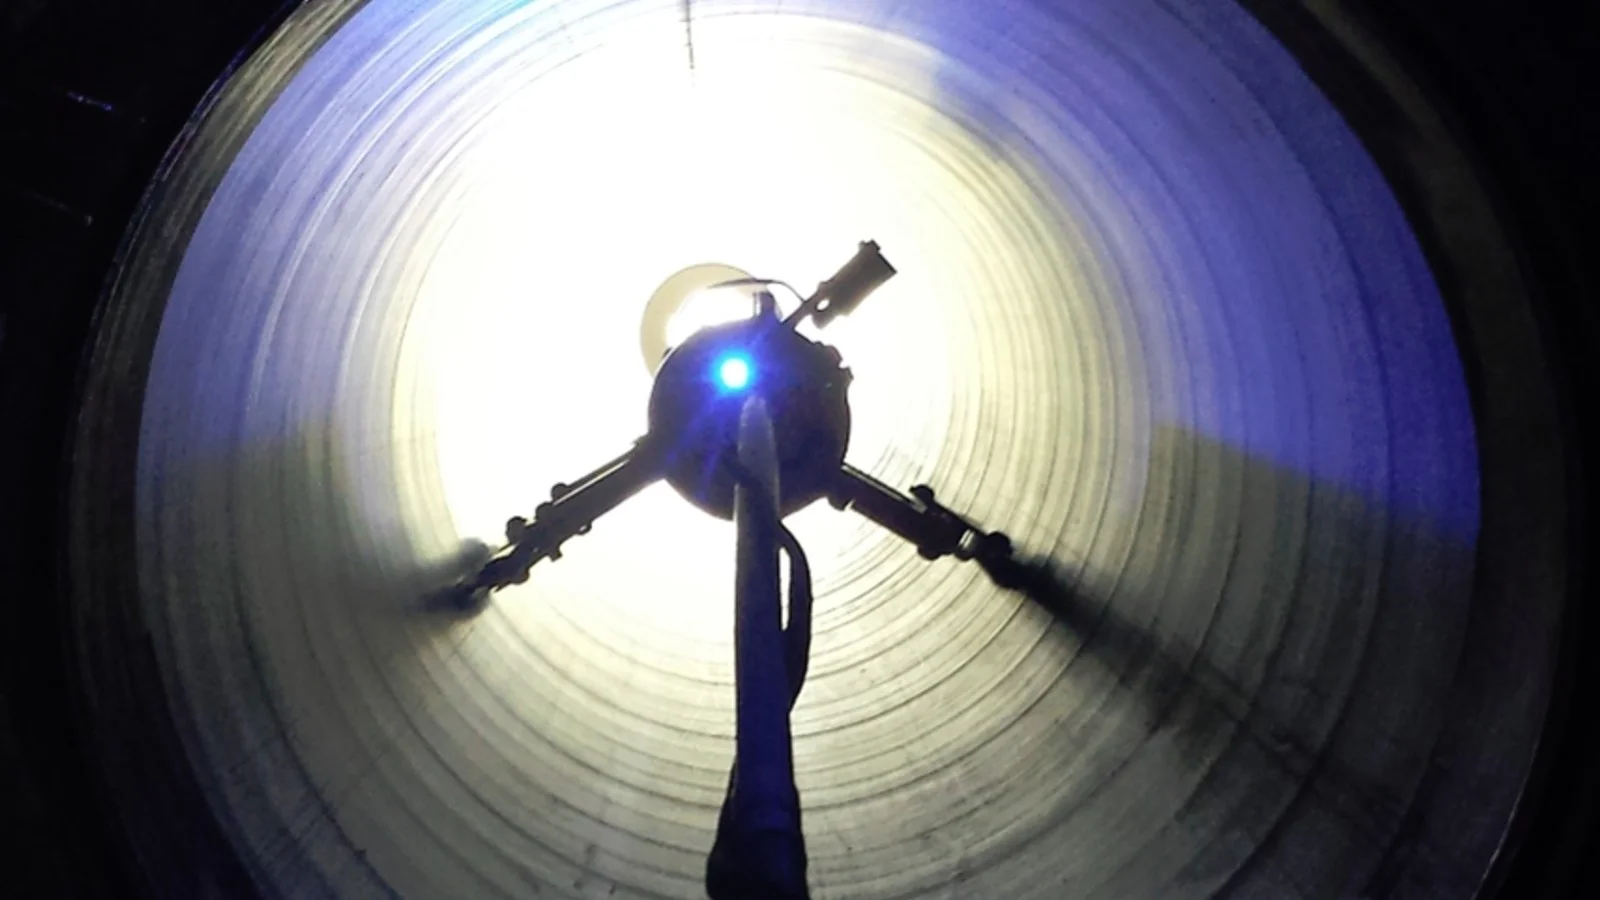
Mechanically-lined Pipe Inspection
Protect pipeline integrity
OMS pipe inspection and measurement technology are used to assess the internal dimensions of pipe that has been mechanically lined, identifying wrinkles and other defects that can lead to future problems and enabling clients to install stronger, longer-lasting pipelines.
Key features:
Wrinkle detection
1 mm scanning along the length of the pipe
Accurate to 0.05 mm
3D model of internal pipe dimensions
Mechanically lined pipe (MLP) has an inner liner of corrosion resistant alloy (CRA) and is used to carry highly corrosive oils and gases. Using either metallurgically bonded liner pipe or weld overlay pipe, a layer of 3 - 3.5 mm CRA is added to prevent corrosion.
During oil and gas projects pipelay companies spool mechanically lined pipes onto huge drums, take them offshore and unreel them into the sea. The process of bending the pipes for spooling can cause the lining to come away, leaving a gap between the two and a bump in the pipe, which is highly undesirable.
Topography measurement
OMS tools measure the topography of a pipe’s liner. Any anomalies, typically referred to as wrinkles, can be visualised and mapped. Conducting simulations and trials – called “simulated reeling” or a “reeling trial” – allows a pipelaying company to establish whether the suggested pipe design is appropriate for their project.
3D internal pipe models
Laser triangulation, taking measurements every 1 mm around the circumference, gauges the pipe’s internal profile. The tool then moves along the pipe collecting more profiles at any desired distance from 1 mm to 20 mm. OMS software joins these profiles together to create a 3D model of the pipe’s interior, unwrapping the information to form a flat surface for analysis. This reveals the entire structure of the pipe, showing any wrinkle formations as vertical bumps in the surface, easily distinguishable from any manufacturing or bending artefact. If no bumps or wrinkles exist the process can be passed as fit-for-service. Before the measurement process starts the definition of a wrinkle should be agreed – the usual successful project metric is that no feature larger than 0.5 mm or 1 mm was found during the reeling trial.


