AUGA.node
The AUGA.node is our award-winning weld inspection system. Equipped with ultra HD cameras and state-of-the-art laser sensors, the AUGA.node provides clients with the most comprehensive information on the condition of a weld currently available. If you would like more information or have a weld inspection challenge, our team is always available to answer any queries. Contact them here.
Key benefits
Comprehensive weld information
Rapid, accurate decision-making in the field
Increase efficiency and reduce downtime and cut-outs
Access more welds than ever
Improve health and safety
Achieve project specifications
Improve pipeline integrity
Data gathered can be used for modelling and AI
Visual and laser inspection
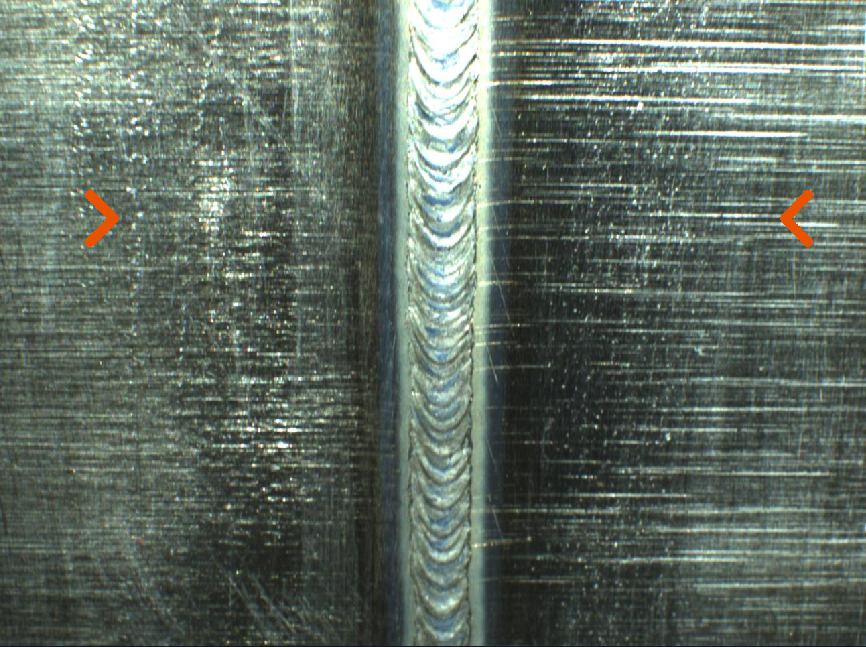
The AUGA.node provides a close-up visual inspection of a weld along with a 3D map, both systems working alongside each other to deliver a complete image. Visual inspection distinguishes porosity, oxidation due to poor purging, cracks and other features, while the 3D laser scan provides accurate information about pipe fit-up, weld penetration, weld size and any other dimensional feature. Information is fed back to our sophisticated software systems and the result is a comprehensive picture of a weld, provided at high speed. Once the system is in position a light stripe laser sensor scans thousands of stripes around the pipe circumference to build a complete 3D map of the weld and surrounding area while an integrated mega pixel camera scans the weld at the same time. The system uses strobe lighting with a colour rendering index as close to 1 as possible, which closely replicates what the pipe surface would look like in natural light. Welds are thoroughly assessed in 30 seconds or less, providing more than 70 images and 2,000 laser scans. Resulting data is then sent to the cloud where it is available for analysis and interrogation, accessible from anywhere in the world.
Deployment
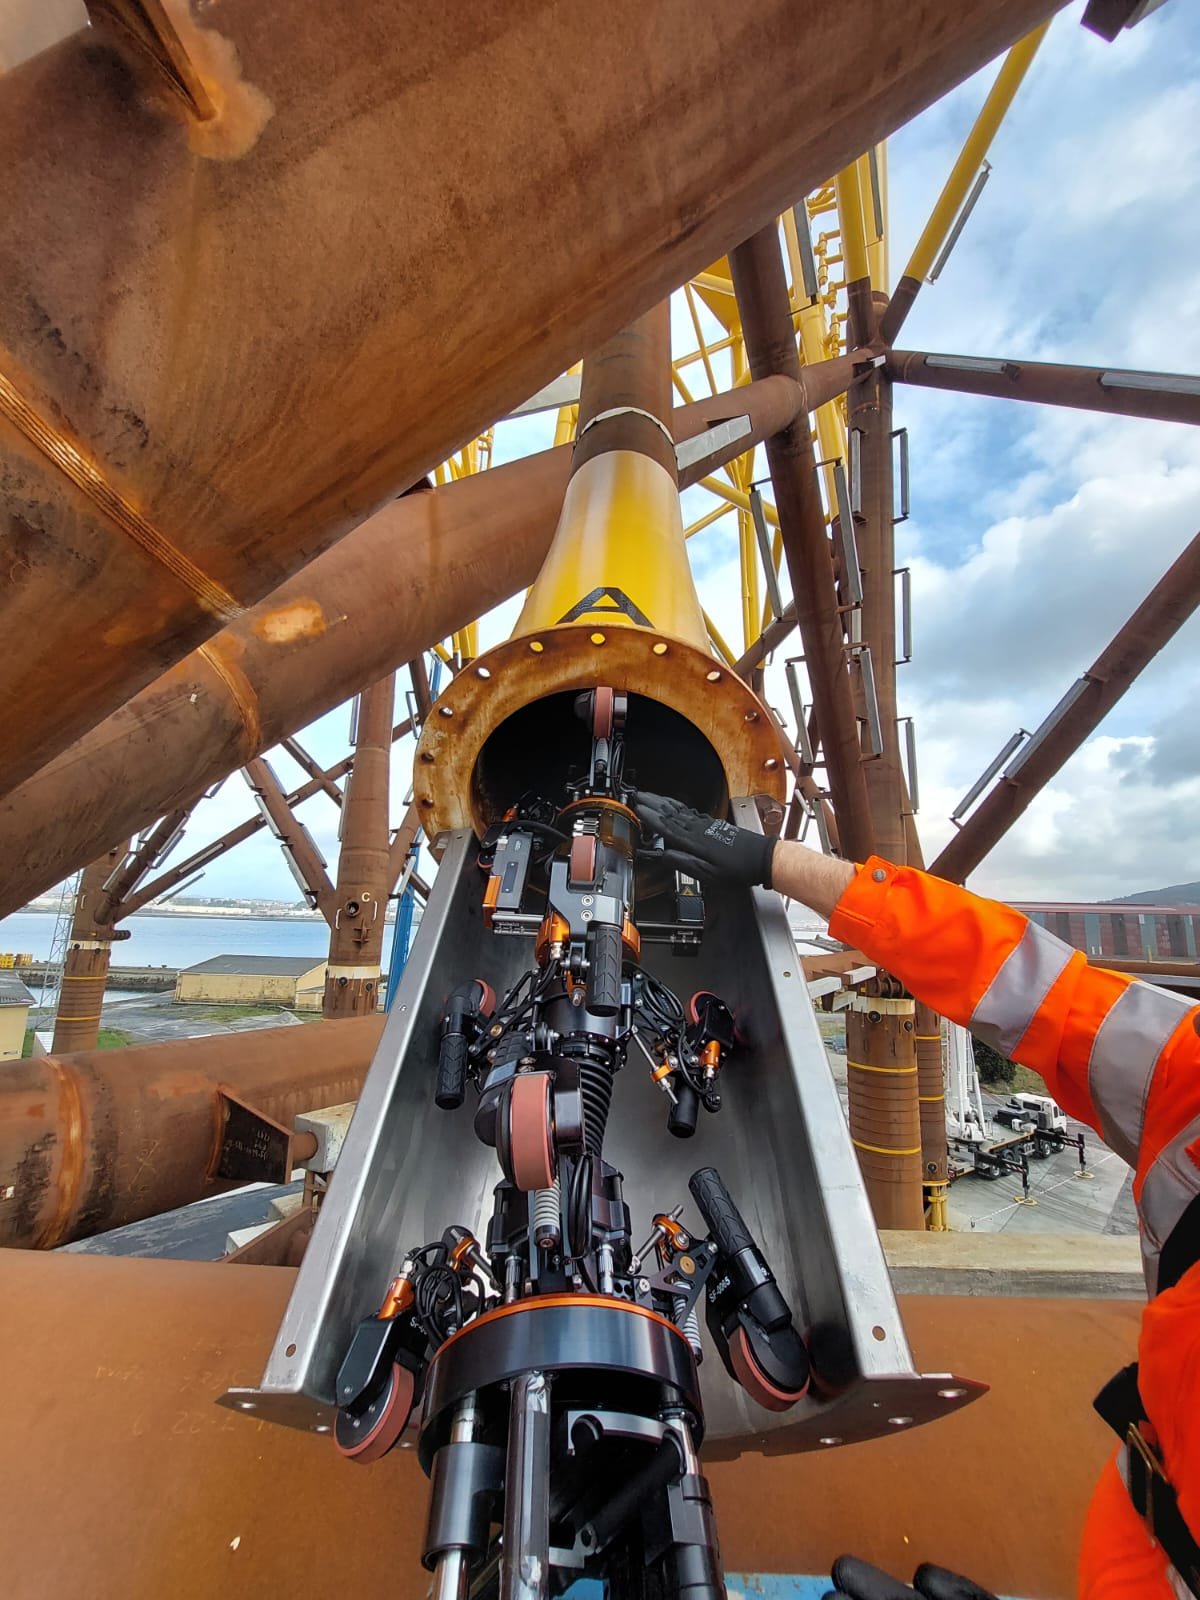
The AUGA.node can be deployed via our AGILITY range of robotic crawlers, attached to the ILUC, attached to the internal FJC trolley or manoeuvred into place via push rods. Welds can be inspected in critical pipe sections such as spool pieces, steel catenary risers and stalk tie-ins, even in locations previously considered impossible to inspect.
Data capture and analysis
Developed in-house by our experienced software team, WeldAnalysis records, analyses and reports comprehensive information on the internal condition of a weld, using an intuitive user interface and easy to understand go/no go indicator that helps operators make rapid, accurate decisions in the field. WeldAnalysis provides a data record for compliance purposes, storing evidence to show that project standards have been met, and for future modelling and AI.
Systems integration
The AUGA.node is a modular system that can be combined with technology from other industry suppliers. OMS has recently completed project work on the INPEX Ichthys II onshore weld inspection project at McDermott’s fabrication facility in Batam, Indonesia. Working alongside PIH, Shawcor and Remacut, more than 2,000 welds were welded, inspected and coated in record time.
Remediation
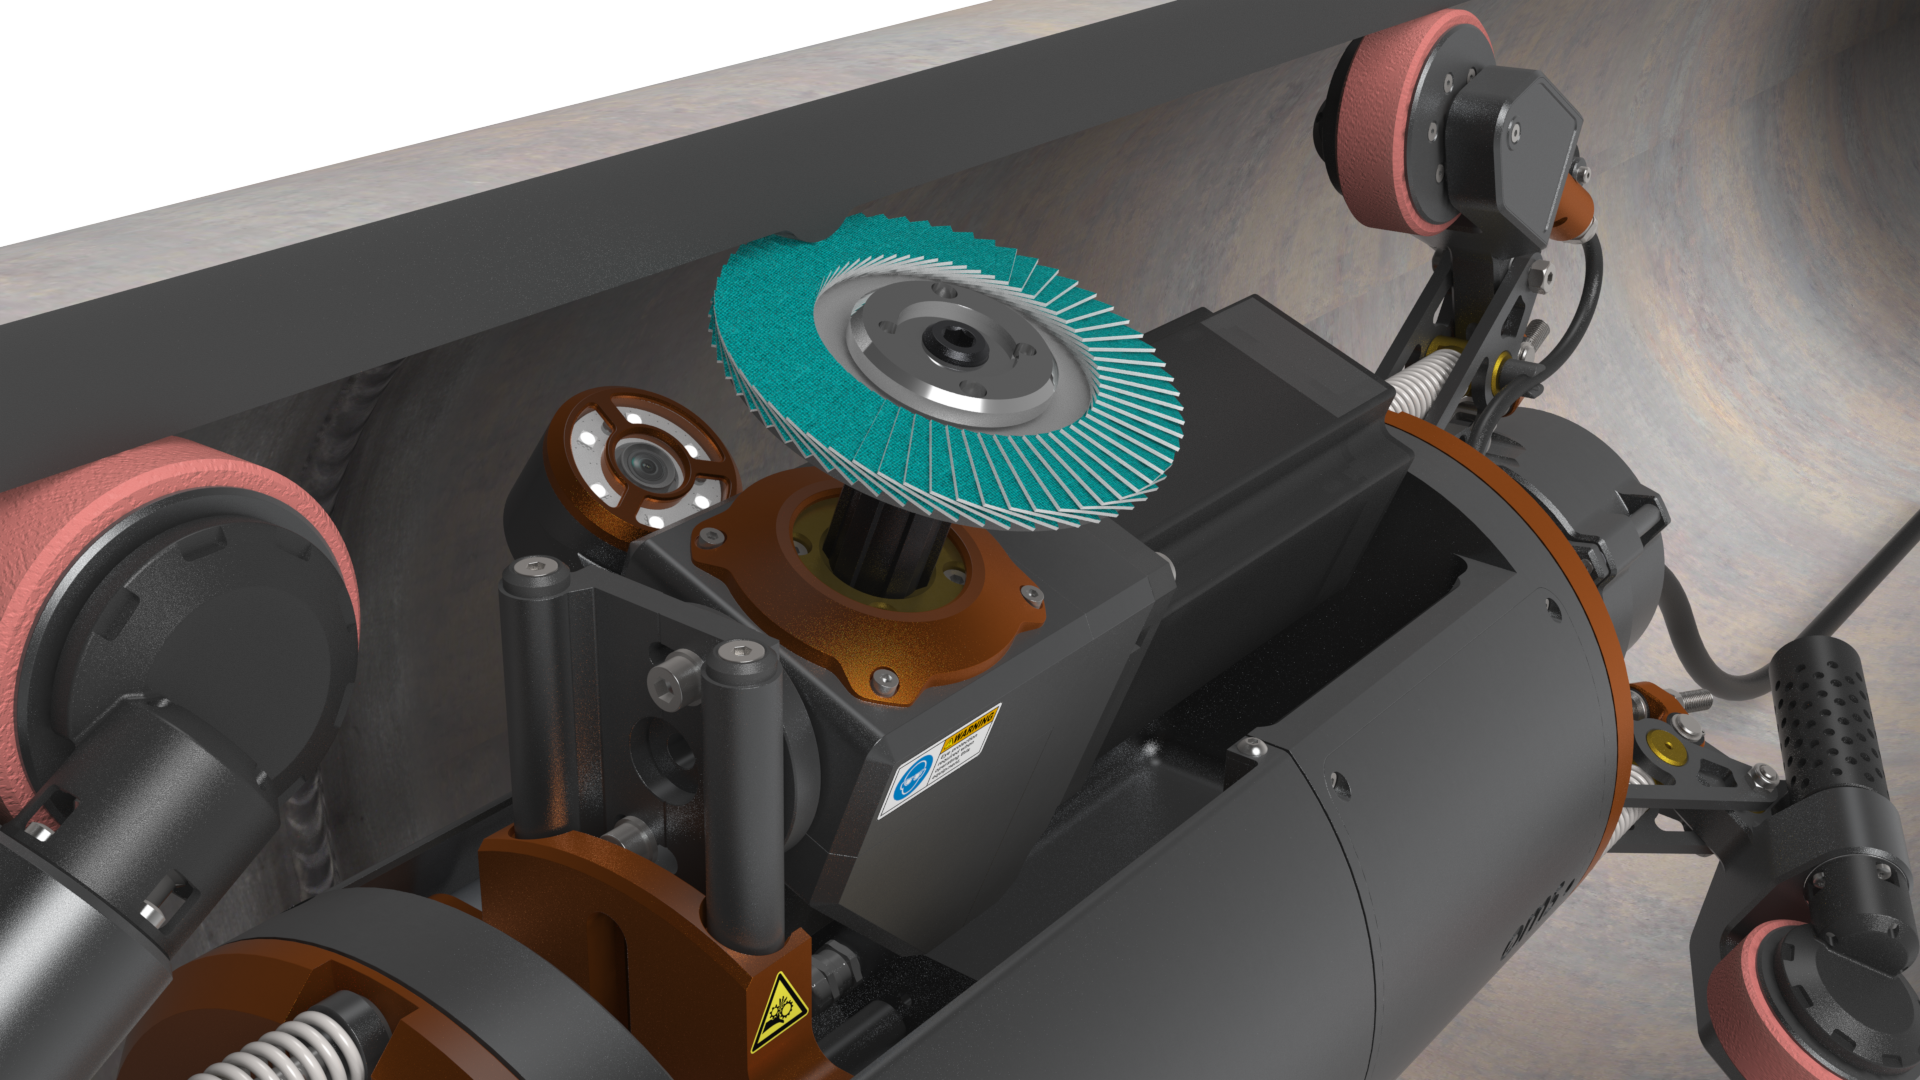
Smart grinding unit resolves weld issues
Grinding and polishing system improves and strengthens surfaces
Post-grinding, inspection system confirms weld quality


