Nuclear Energy
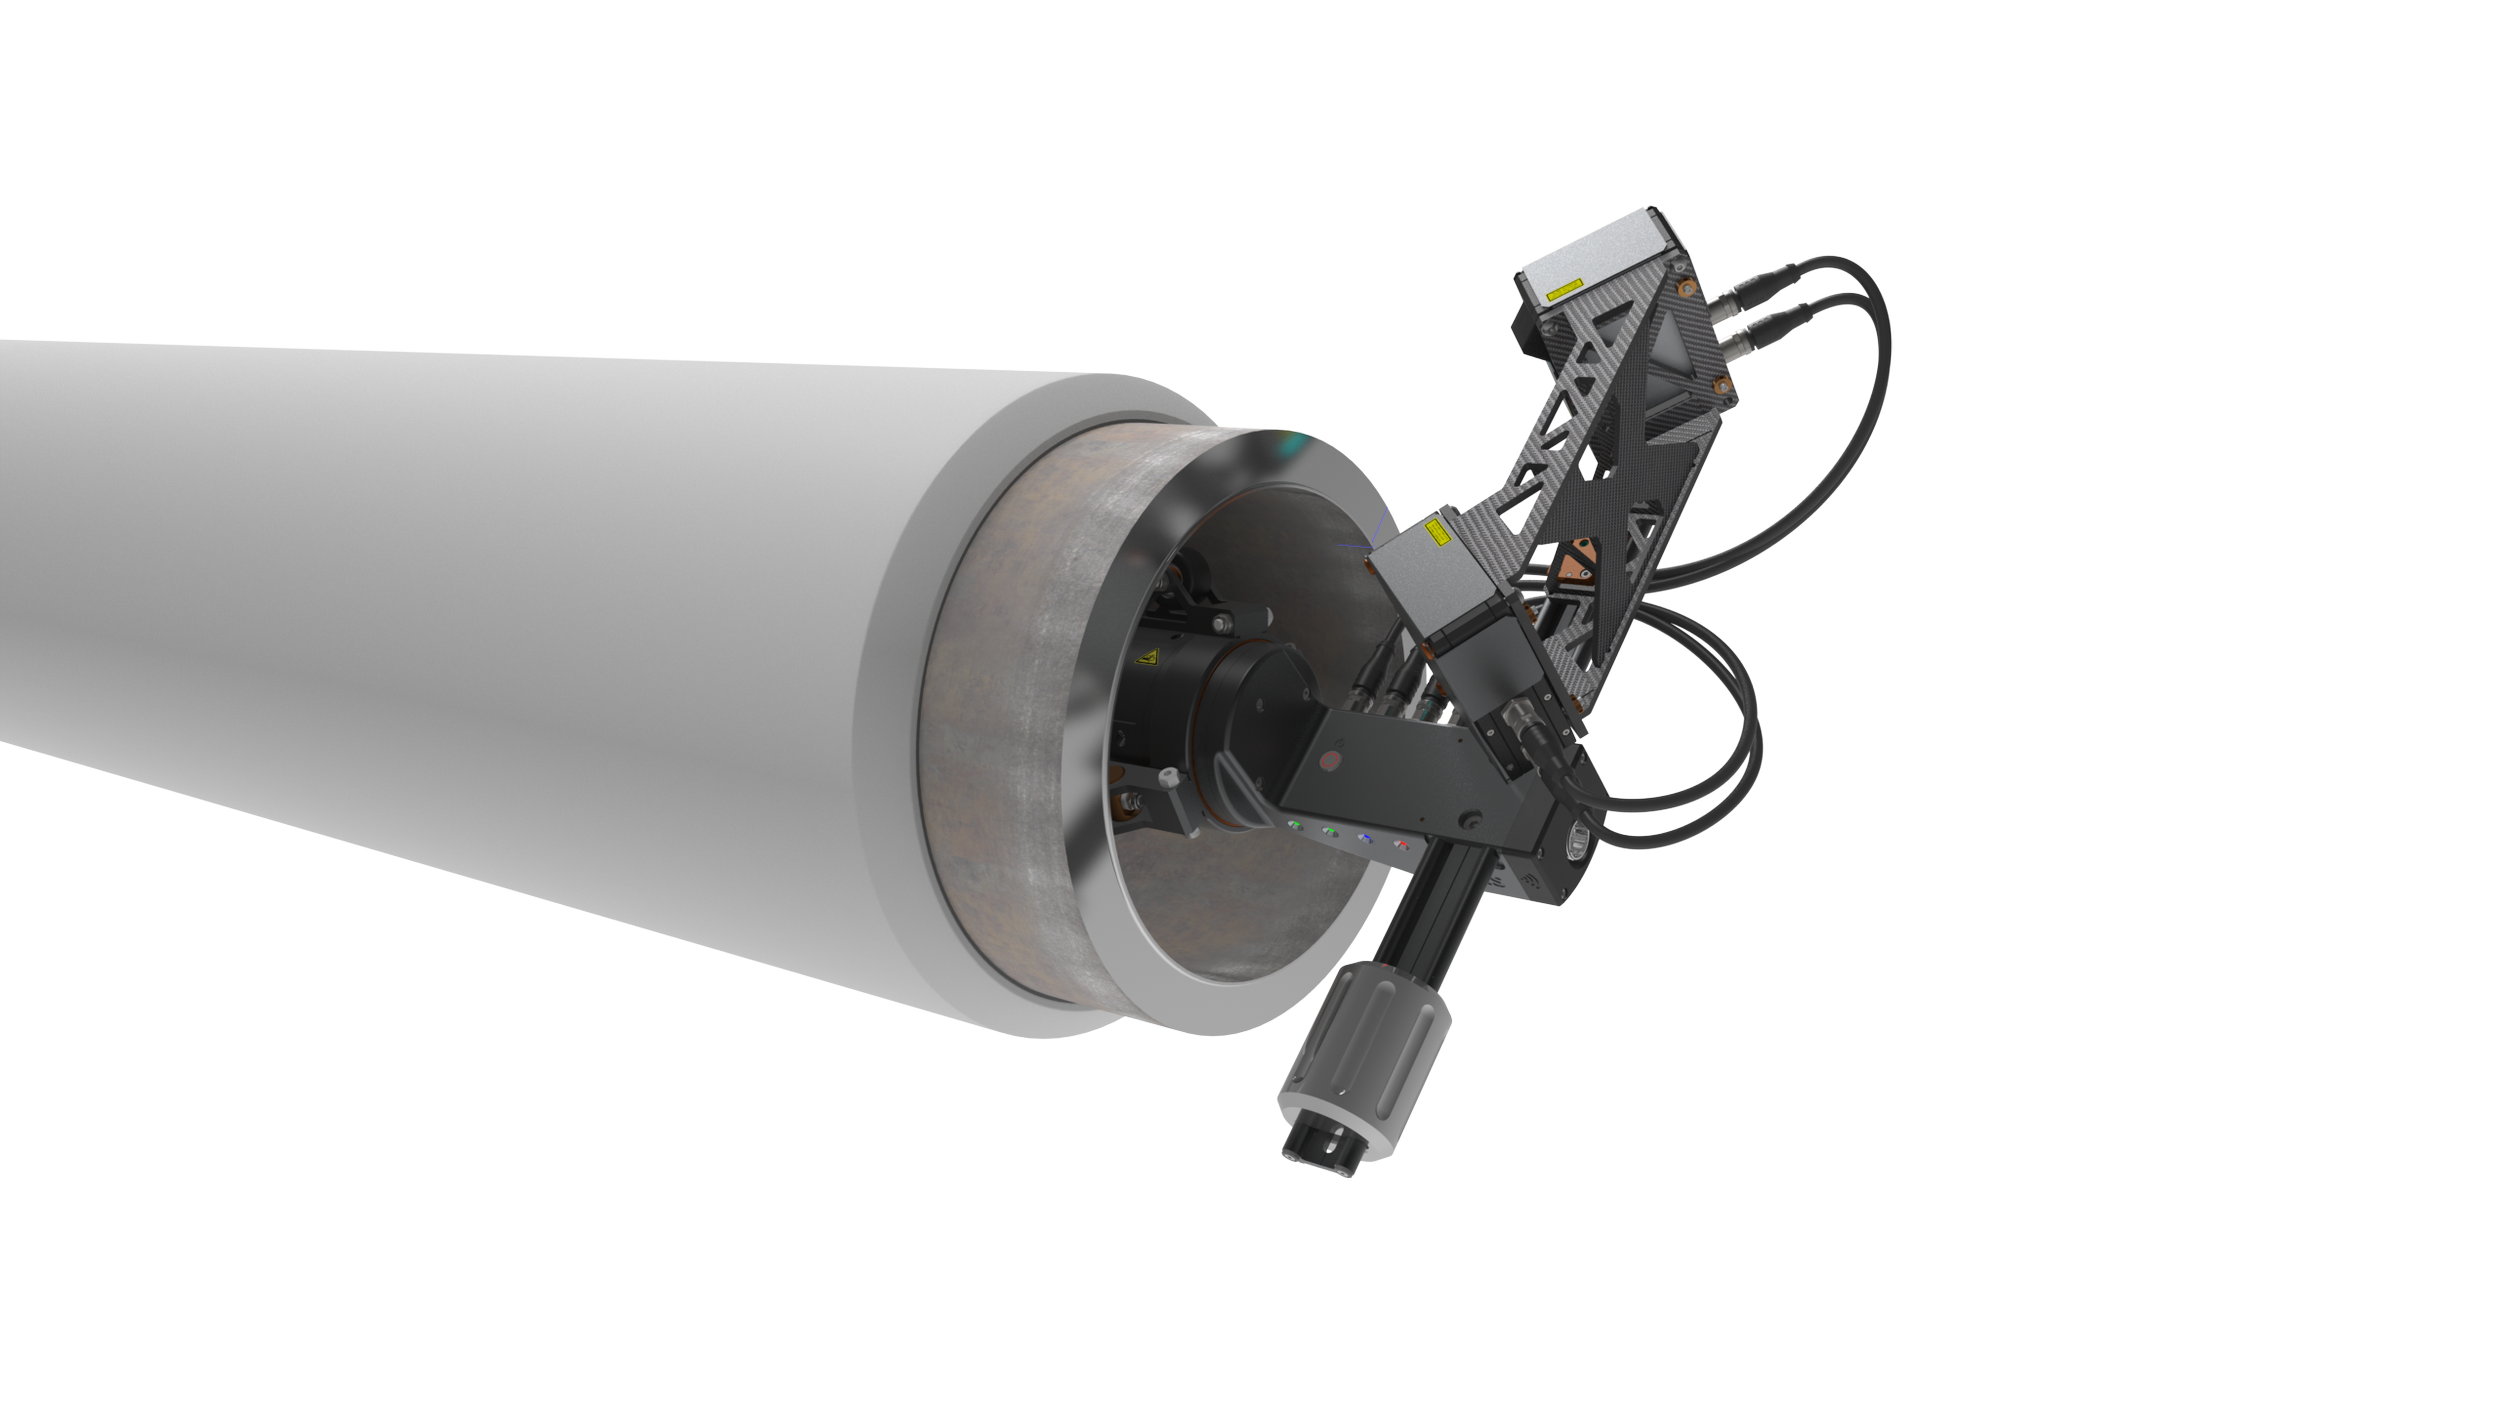
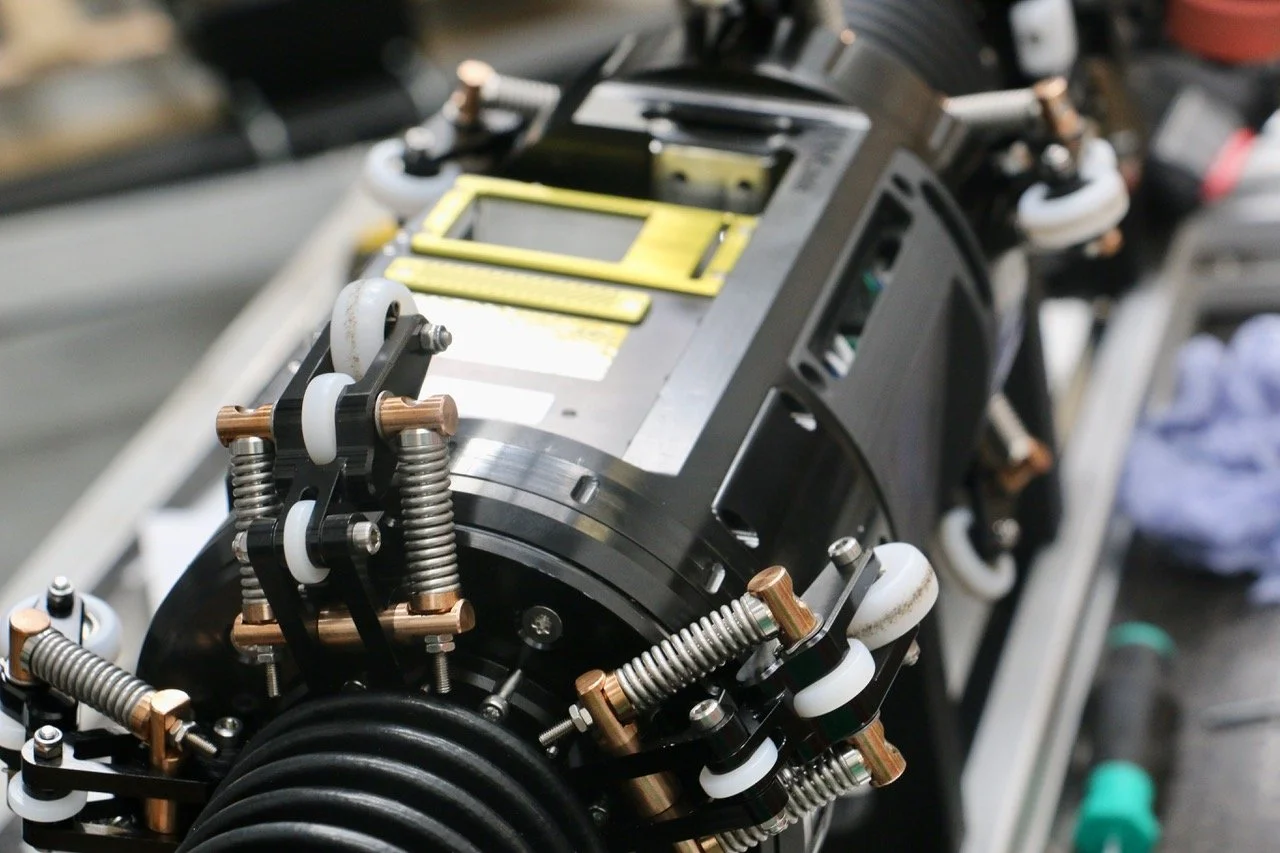
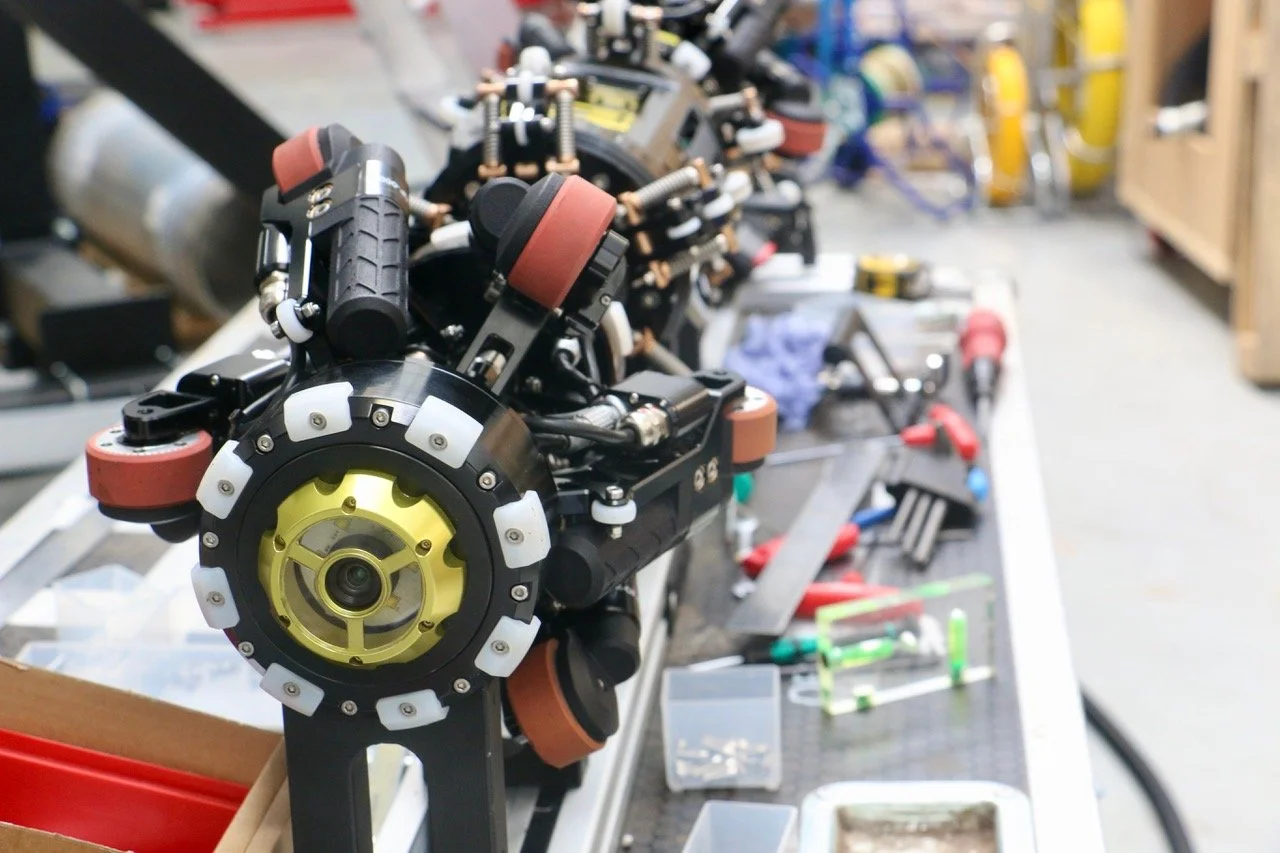
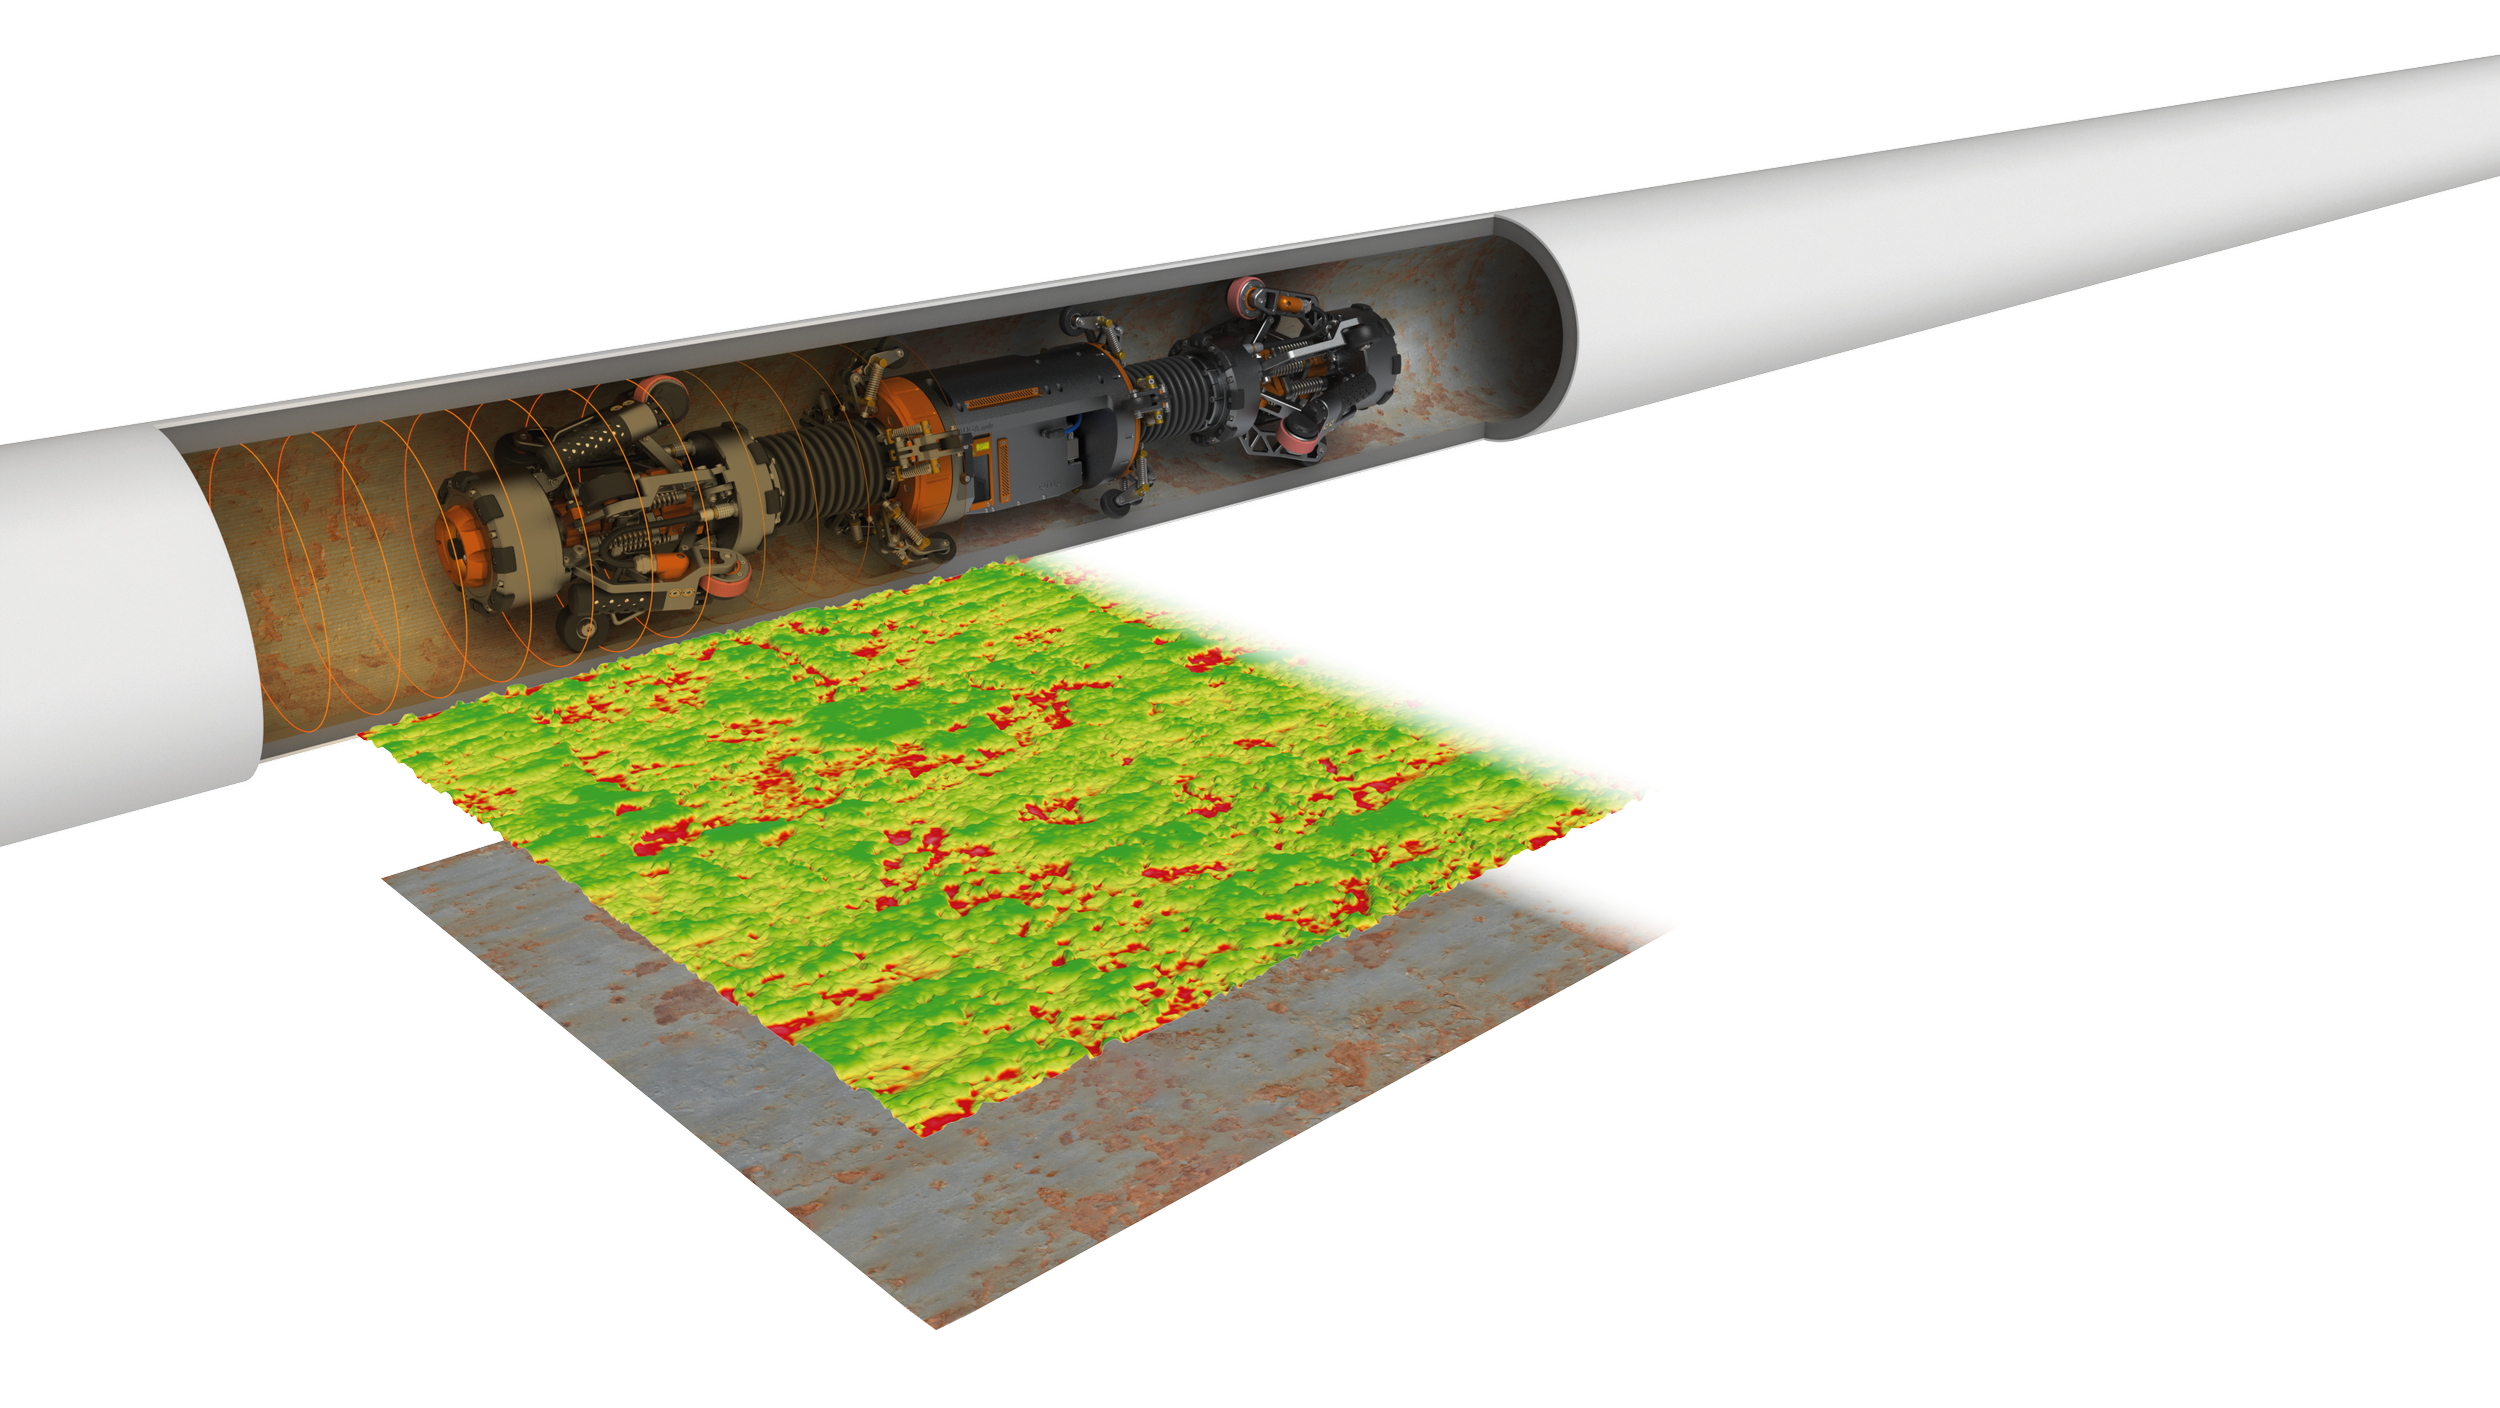
OMS is a leading measurement, inspection and remediation company with over 20 years' experience developing innovative solutions for the energy sector. As trusted NDT experts with a strong track record of success in the oil, gas and offshore wind sectors, where we have completed over 450 projects, OMS now works with nuclear companies to help them deliver critical requirements. Our systems use robotic crawler modules equipped with various OMS-developed acquisition hardware in conjunction with sophisticated software to identify and quantify surface defects that help our clients comply with relevant industry standards, and ultimately improve asset quality.
Applications
Software
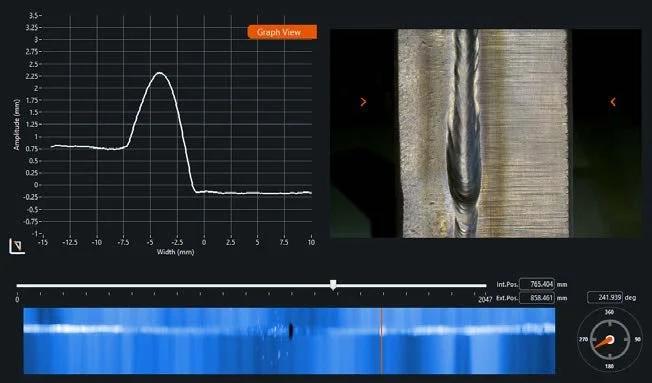
At OMS easy-to-use and robust control software is a vital component of our inspection systems. Our software analyses data from numerous acquisition sources to provide a coherent and comprehensive analysis of a pipe’s interior. Our in-house software engineers continue to improve the software control, GUI and analysis and reporting features.
Standard features on all crawler systems:
Real-time camera feedback (front, rear and side camera)
Real-time distance tracking from wheels or tracks
Real-time laser data
Real-time system pitch and roll data
Control over lighting and image parameters
Analysis and reporting software provides:
Automated weld feature analysis and reporting
Overlaid camera and laser mapping data
Analysis of surface changes before and after a process – for example before and after grinding:
Material removed
Parent material removes
Remaining wall thickness
Output of scan data and images into a single MS Excel report for easy sharing and referencing after the scan
Case study
A client in the nuclear industry approached OMS to ask us to assist with one of the steps associated with removing and replacing some aging pipework in the primary circuit of a nuclear power plant. Due to the radiation levels, each process needed to operate as quickly and efficiently as possible. Adding to the challenge, the internal diameter of the pipework varied from approximately 700 mm to 800 mm and the only access was via a small entry hole, measuring approximately 400mm. OMS were chosen because of our track record of providing industry-leading metrology and visual testing equipment. Due to the specific project requirements, we developed a new system equipped with multiple high-definition cameras to see the areas of interest with varying levels of magnification. The unit was also equipped with laser profilometry to accurately measure the region of interest before and after various steps were carried out. OMS’s proprietary software enables easy overlaying of scans to detect and measure small differences (such as material removal) between scans – even if the tilt of the robot varies between scans.


